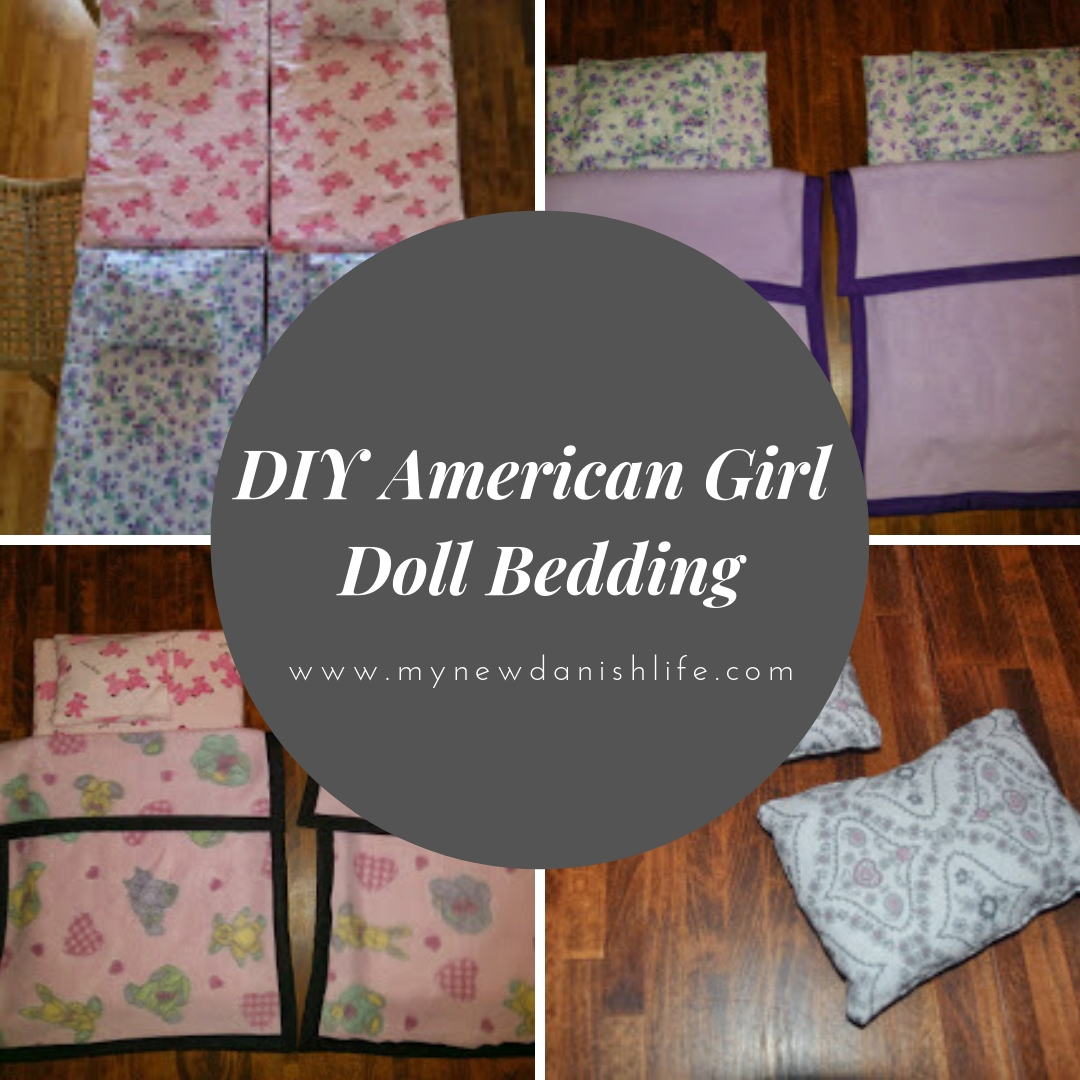
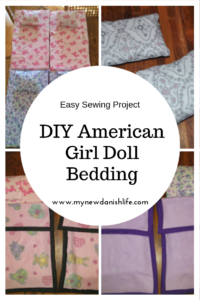
DIY American Girl Doll Bedding (Beginner Sewing)
This post may contain affiliate links. Please read my Disclosure Policy for more information.
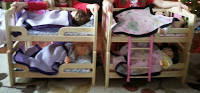
My brother-in-law asked me a few months ago about making the bedding for two bunk beds he planned to make his nieces for their American girl dolls. This was meant for a Christmas present. He is pretty talented with designing and creating different things out of wood, but he, nor my sister, do any sewing. Though I have never done anything like this before, I thought it would be fun to do something different. I have two boys, so I also didn’t think that making bedding for doll beds would be in my future. I agreed, not knowing what I was getting myself into. 🙂
I first found some material at a garage sale. Two daughters were selling off their mother’s fabric, patterns, etc., since she had died and left it all. Apparently, this lady (May she rest in peace.) was a somewhat professional dress maker for dolls. I hit the jackpot! I spent a good chunk of time just looking at the fabric, and I finally decided on a pink teddy bear flannel and a pink fleece with bunnies and kitties on it. I also bought a lavender and sea foam green material that had small flowers on it, and a lavender fleece. All fabric was $1 a piece, which was a price I was willing to pay! The total for the fabric was then $4. Yes! This project was getting me excited by the price alone.
I then started to think about what I needed to do. My brother-in-law had four pieces of foam cut 11″ wide and 20″ long and about 1″ thick. I wasn’t really sure where to start, since this was a new project for me, so I went online to Pinterest and did a search. This is where I found Ribbonwood Cottage. The lady on this site had some really cute examples of things she’d made. I tried to use her tutorial as an example, but I had to skip the frilly edge on the pillow. I didn’t want to go crazy trying to figure that out! 🙂 I also didn’t have to make a sheet, so it ended up that I only needed her site for the pillows. That was okay by me, since the pillows took the most time to make. I was glad to have a tutorial to give me peace of mind. For the pillows, I cut my scrap fabric 5″x7″ and stuffed with fiberfill.
Then, I followed the tutorial to make the pillowcases. It mentioned the measurements she used, which I read wrong and is why mine weren’t the same. No matter, because it all worked out well in the end. 🙂 I just made sure to make my pillowcase bigger than the pillow by the same difference in measurement as what her items were. Also, I mentioned before that I skipped adding the frilly ending on the pillows. I don’t think that it took away from the overall look, so I wasn’t worried.
It is funny to think about this now, because when I first took my sewing class back in March, I told my teacher that I really wanted to learn how to make a pillowcase. My teacher wanted to challenge me, so she didn’t show me how to make a pillowcase. I got to make 4 pillowcases for this project, which makes me happy! 🙂 Check that off my beginner-sewing-bucket list!
Then, I figured out how much material I needed to cover the foam by placing the foam on top of the fabric and then wrapping the fabric around it. I then cut the material so that I would have about a 1/2 inch on three sides. Then, I put the right sides together and sewed two sides around, leaving one of the short ends open (like a pillowcase). Because the foam is easy to move and squish, I used my machine to sew the open end together once I right-sided the material and inserted the foam. It worked out great!
This project started to feel manageable after I got this completed. I was a bit worried, to tell you the truth, but I am glad that I was able to do it. I like to sew, so I’m glad that this wasn’t the project to turn me off to sewing. Game on! I just now needed to figure out what to do with the fleece “comforters.” Luckily for me, the girl down the street has an American Girl doll and let me borrow it to figure out the measurements for the “comforter”. I also used another website, Living Well, Spending Less as a guide, since I already started to stray from the first tutorial. I wish I would have found this site first, since I got lots of ideas after looking at this. Unfortunately, I don’t have enough of the teddy bear fabric to alter what I already started, so I’ll just have to keep this in mind for the future.
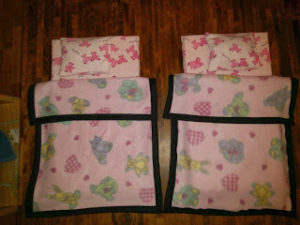
I really wouldn’t mind doing this again. I’ve got more of the lavender flowered material, and I think I could make something really cute. I would also like to try to do some quilting, but that is for another blog. The “Living Well” blog is where I got the idea to use bias tape on the edges of the fleece to give it more of a finished look. For the pink fleece, I thought to use black, double fold bias tape for quilt binding. I wanted there to be a color in common between the foam cover and the comforter, and since they were both pink, I went with the only other color in the sheet. I actually had one of these bias tapes already that I got at a different garage sale at the beginning of the summer. This was super cheap and probably wasn’t more than 25 or 50 cents. I had to buy a second one as well as the two plum ones I used for the lavender fleece. I went to JoAnn’s because I had a discount and could use my 15% off educator card. The total was just over $7. (So far, my grand total is about $11.50 if you don’t count the scrap, and the fiberfill was also from a very large bag I bought at a garage sale for 50 cents. I still have lots left, so I don’t really see how that actually cost me much of that 50 cents. My brother-in-law and I worked out a deal. I wanted a frame for the mirror in my bathroom, and since he wanted bedding, we decided to help each other out. I didn’t feel bad about an almost $12 project that I was giving away, since the beautiful mirror frame was fabulous and, in my opinion, priceless.
When you are faced with your next craft project, I encourage you to look for the deals! They’re out there! 😉
Here is a look at the two different American Girl Doll Bedding sets that I made.
Want to see more posts like this and get updates when new posts are live on the blog?? Subscribe to my blog and get information sent straight to your inbox. Also, please follow me on my social media accounts to get a behind-the-scenes look at what’s to come.
Pin and save for later!
Kelly
Hi! I'm Kelly, an American mom and wife to a Dane. After deciding to move to rural Denmark in 2016, I decided to share the highs and lows of expat life in Denmark with lots of fun family experiences and trips in Denmark to make it all a bit more interesting! :) Welcome to My New Danish Life!


2 Comments
stephani
Hi Kelly
for future doll projects try the website myfroggystuff or see their youtube channel. She has everything in the world for both barbies and american dolls for beginner sewing projects. It is a great website for unge children and adults.
Kelly
Thanks for the tips, Stephani. I made those beds as a favor to my brother-in-law. I don’t have anyone at home who plays with Barbies, but I hope that someone else who visits this page will be able to use the link. Thanks for reading! 🙂